


by Phillip East
Introduction
Have you ever watched a short film you shot on your phone… and felt like something was missing?
The story is there, but the visuals don’t have that cinematic feel.
The good thing is that you don’t need a massive budget or an upgraded phone camera to do that. AI video enhancer will bring clearer footage, crisp details, and colours as if professionally shot!
In this article, you’ll learn exactly how to use AI to give your mobile phone short videos the cinema feels and polish while on the same production budget you already have.
Why so many low-budget shorts still look like phone footage
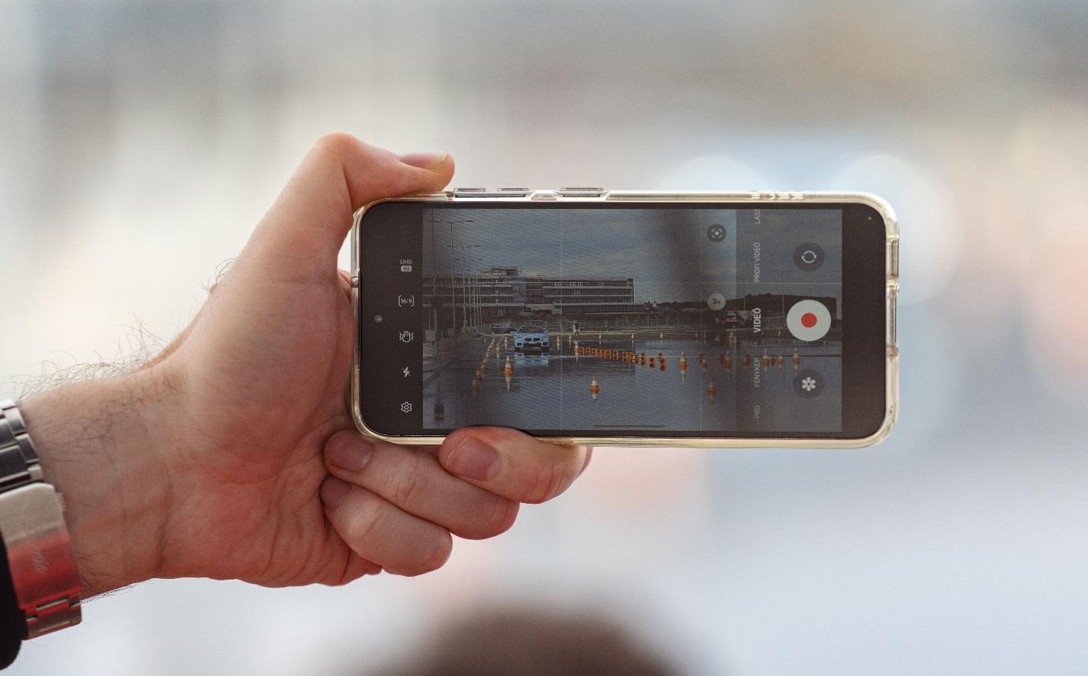
Using your phone to shoot a short film is becoming more popular for obvious reasons – it’s cheap, easy to carry, and is ready to go without spending hundreds of dollars on equipment.
But where is the “actual” problem then?
The problem arises after the shoot, though. What appeared clear and vibrant on your smartphone can look dim and grainy on a monitor. Images taken in low-light may be extremely noisy, highly blown-out shots may have blown out any details to white, and dark parts of the image may be nothing but black. Cropping or resizing the frame to look correct on a big screen will only make your footage less pristine.
Good storytelling is still at the top. And so, good, polished visuals still do make a difference, especially when you are trying to pass your film on to a festival. AI video upscaling may not alter your filmmaking experience, but it does allow you to prepare your shots for export.
What filmmakers usually try first (and where it falls short)
When a camera reel doesn’t give the look, you want… editing is your first and most natural resort.
Some colour enhancement, a touch of sharpening, and noise level tweaking might just be enough to make the footage good. But wait, when it comes to smartphone videos, these techniques will barely be able to get anything more.
Then comes the classic advice: “Shoot it better next time.” It’s not wrong, but it doesn’t help when the film is already cut, and there are no reshoots.
However, there are a lot of directors filling in the blanks with stock footage or AI-created B-roll. While it may work, sometimes the watermarks will bleed into the edit, and manually editing these out using tracking and paint can take some serious time, and a small production company may just not have the time for this.
Where AI enhancement tools help in the post workflow
You don’t have to save every photo, but sometimes you’ll have the perfect shot, but it’s just a little too blurry, too grainy, or it just won’t scale up to larger screens.
This is where an AI enhancer comes in handy!
Today’s AI sharpening can do much more than just sharpening. It can restore fine textures, repair compression artifacts, and improve details in a way that looks much more natural. The overall aim should not be to make your footage look ‘fake’ but rather to make it look as close to what you saw on set.
This can be particularly beneficial in helping those mobile-shot scenes we talked about. Be it a dark scene in a home, an emotional close-up, or a sweeping exterior shot that requires it to be seen in 2K, 4K or 8K.
The AI does not make edits to your film; it simply allows those images you captured to stand up a lot more when you intend to put it on the screen.
Walkthrough: enhancing phone-shot footage with Vmake Labs
So, your edit is complete! However, you are not satisfied with some frames because perhaps they are quite blurry or maybe your shot isn’t sharp enough to be like when taken in your phone for this night scene.
Well, this is what Vmake Labs (Formerly Vmake AI) comes for!
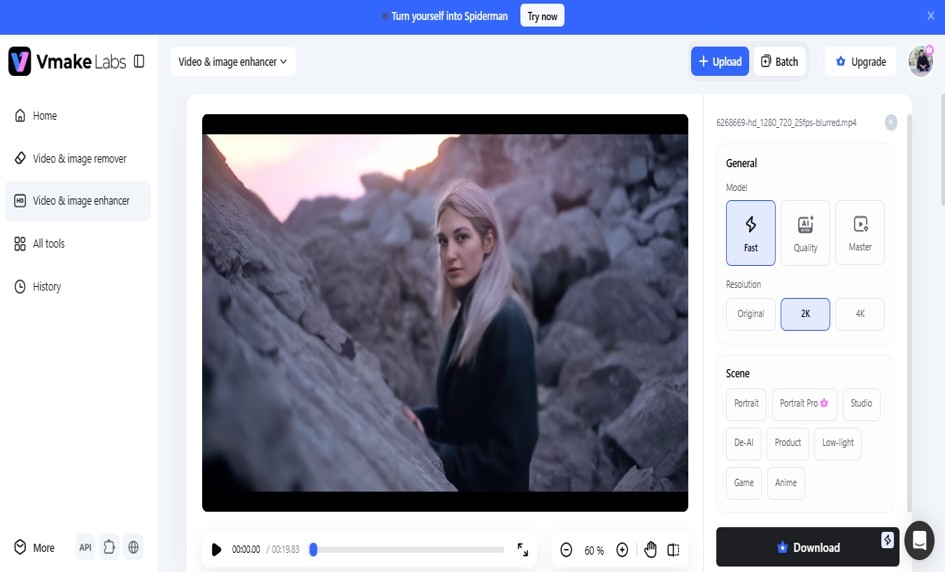
Since it’s browser-based, there’s nothing to install. Just upload your clips and let the AI do the heavy lifting.
With phone-shot films, probably the one that you’ll be using most is the AI Video Enhancer. The Low-light model helps to make dirty dark scenes nice, while the Portrait model brings more natural detail in faces during dialogue shots. It reduces the number of blurs, noises, and compression but doesn’t make everything look overly sharp.
What if you’re exporting for a festival or a bigger screen? Upscaling to 2K, 4K, or even 8K is a way to get better quality in that case. And if you want to work on the whole scene, batch enhancement allows you to simultaneously work on multiple clips instead of doing the same job several times one by one.
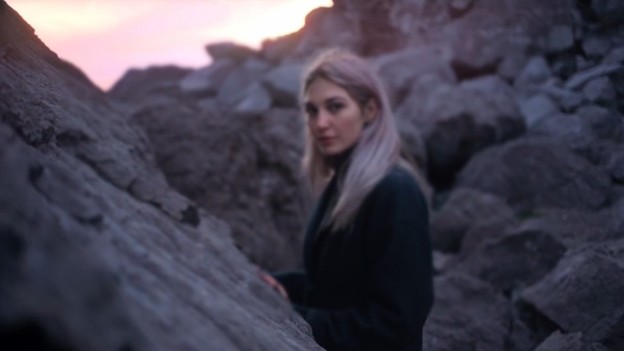
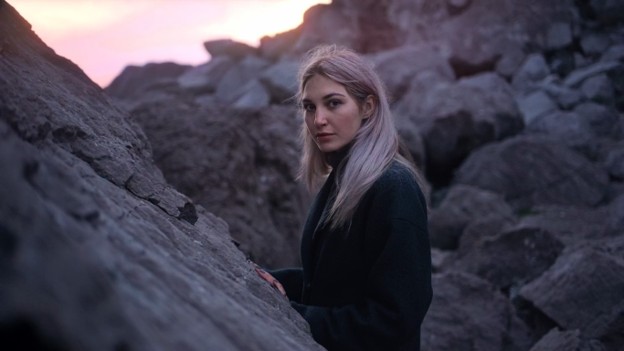
One small tip:
You should do AI enhancement first before colour grading. You need to make the footage look clean first, then go to Resolve or Premiere for the creative work.
The unglamorous but genuinely useful tool: watermark removal
This happens to nearly everyone making films at one time or another.
You place your video — generated via AI or purchased through stock libraries — onto your edit, only to discover that it has a watermark on it still!
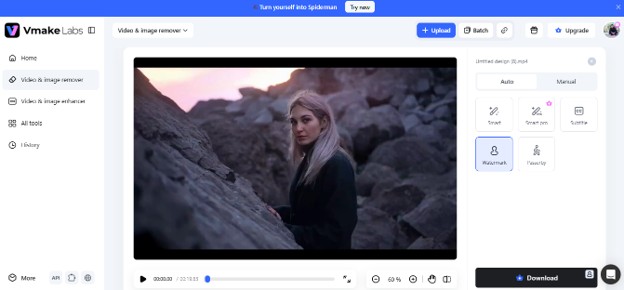
Instead of going in and making that watermark disappear manually, Vmake Labs Watermark Remover can automatically locate the watermark, even while it’s moving, remove the mark, and inpaint the background into place.
Forget tracking and masking each frame, a tedious task that takes hours!
Have you received a few videos and are on a tight schedule? Or are you working with a folder of B-roll? You can upload up to 30 videos at once, which is much easier than fixing every clip by hand.
But wait, as with any cleanup software, there are going to be limitations…
It works best for images where the background behind the watermark is relatively clean. Anything that has lots of action or complex details may require some time in a desktop application like Resolve or After Effects to clean up.

Conclusion
Cinematic shorts are never about the camera your film is shot with; they’re about how best you use the footage you already have. If your film was shot on a mobile, with the AI Enhancement tools, you can take the bite out of the final film for free.
Vmake Labs is not going to make up for bad writing and terrible editing. But when you need to remove noise, fix missing details, and bring clarity to clips before your color grade, AI can provide all that and more to help you film shoot on your phone, stand up tall on the big screen.
FAQs
Does AI enhancement work on 4K phone footage?
Yes! Most phone 4K footage suffers from noise, blur, or compression, and if you can improve these issues before colour grading or exporting, it would save time and produce a much better result.
Can I remove a watermark from stock or AI B-roll without re-shooting?
In most situations, yes. Watermarks are even static or animated, and a tool like Vmake Labs can remove watermarks (both static and animated) from stock videos or AI-generated video, although a simple touch-up may sometimes be needed on tricky, busy backgrounds.
Is AI enhancement a replacement for colour grading?
No. AI enhancement and colour grading have separate functions. AI comes in to clean up footage, while colour grading gives your film its look and feel.
